How to code an Arduino?
The code is the heart and soul of any Arduino project. It is a series of instructions written in an Arduino-specific programming language. The code instructs the Arduino board on what to do and how to communicate with various components. It describes the actions of the electronic modules connected to the board's sensors, actuators, and other electronic modules. Writing code for Arduino is made easier by the user-friendly software tool known as the Arduino IDE. With Arduino, users have a limitless number of options and creative freedom in realizing their ideas. They can customize and alter pre-existing code or write their own from scratch.
What is an Arduino?
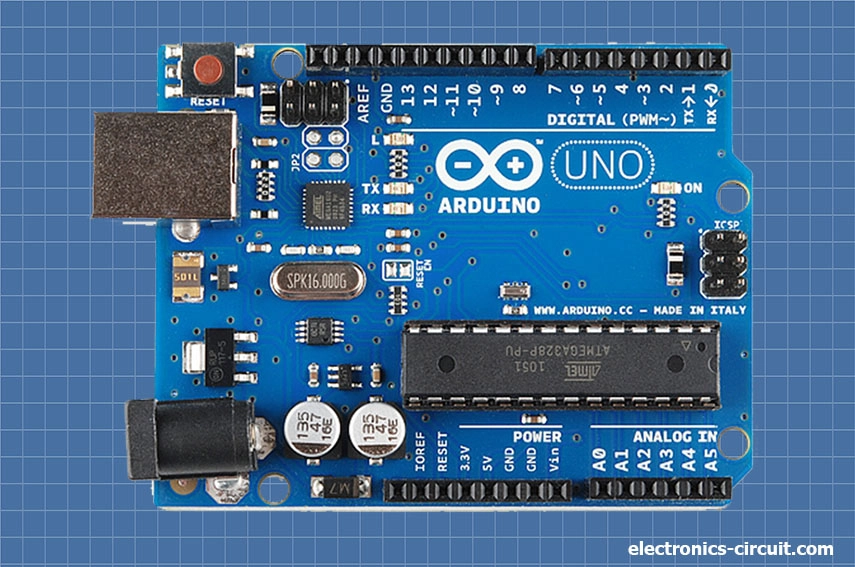
An open-source electronics platform called Arduino is built on simple hardware and software. The Arduino board acts as the brain and has several input and output pins for syncing sensors, actuators, and other electronic parts. The boards are available in a variety of sizes and forms, ranging from the tiny Arduino Nano for portable applications to the larger Arduino Mega 2560 for projects requiring more hardware.
What programming language does Arduino use?
The Arduino coding language is a modified version of C++, and the Arduino IDE offers an accessible graphical interface that streamlines the procedure of generating and compiling Arduino code. The IDE also comprises a collection of functions for managing the hardware on the Arduino board.
Is Arduino good for beginners?
Yes, beginners can learn electronics and programming on an excellent platform using Arduino. It is a low-cost, simple to learn platform with a huge user and developer community. You may start using Arduino right away with the help of a variety of online.

How to install Arduino IDE?
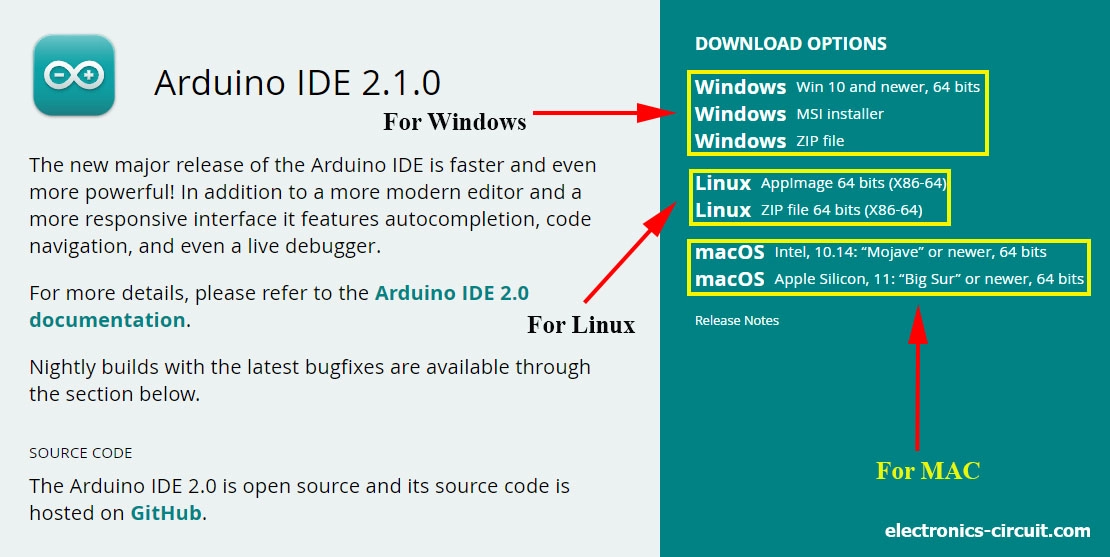
For download the most recent Arduino IDE for your OS system visit the arduino.cc official website. Arduino IDE available for Linux, Mac, and Windows OS platforms. For the simplest installation, select "Windows Installer" from the download page's options.
Download the Arduino IDE for your operating system from the above given link.
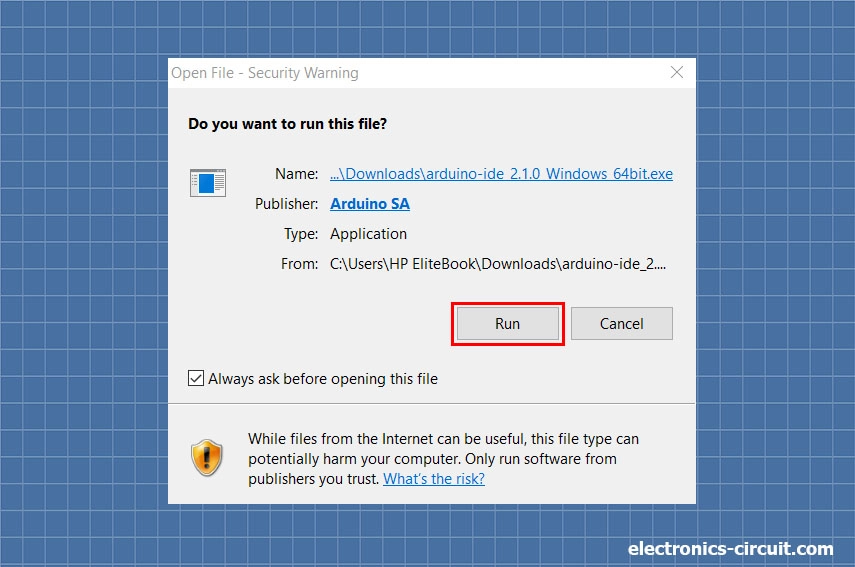
When the download is complete open the .exe file and click on RUN button.
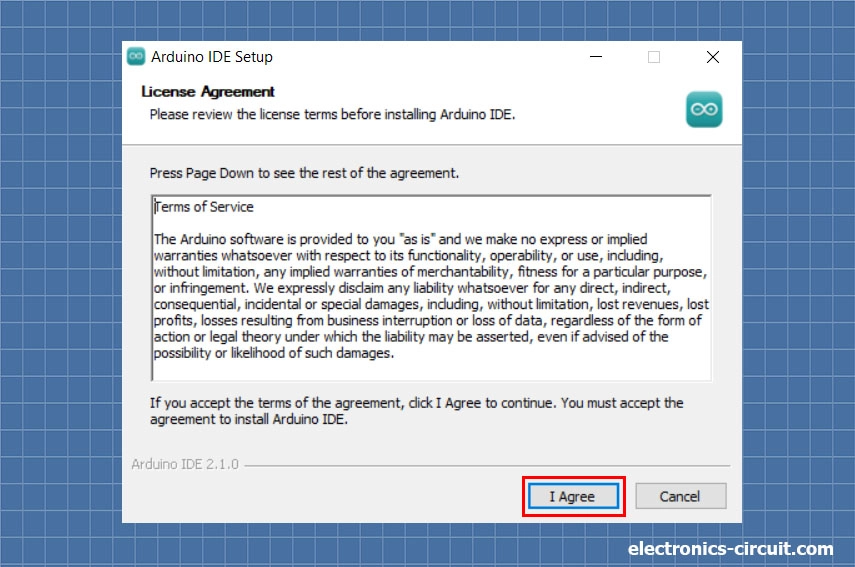
To accept the licensing agreement, click the "I Agree" button:
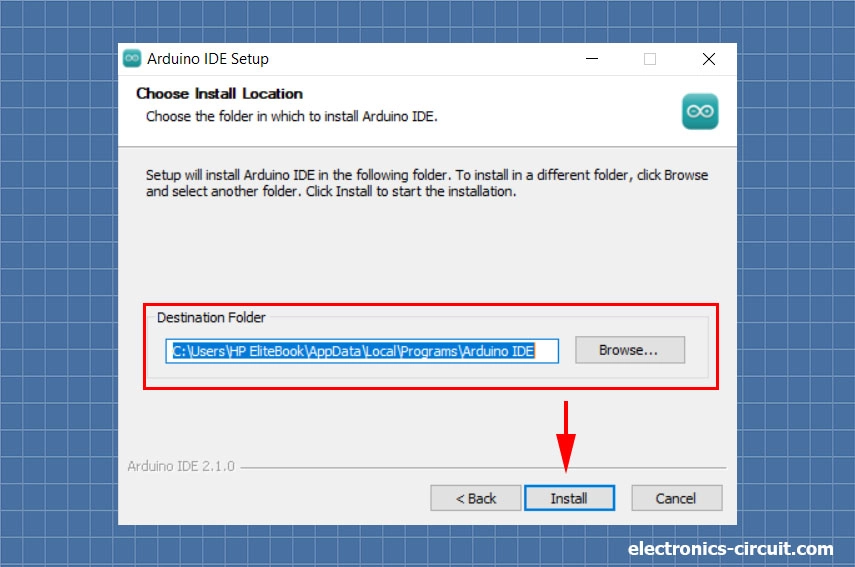
Click "Install" after choose folder where to install the program:
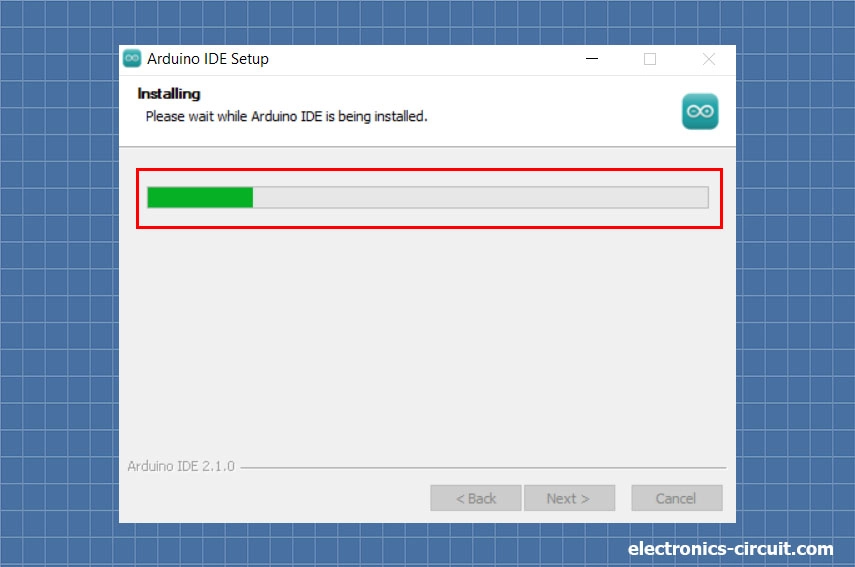
Click "Close" or Finish button once the program installation is complete.
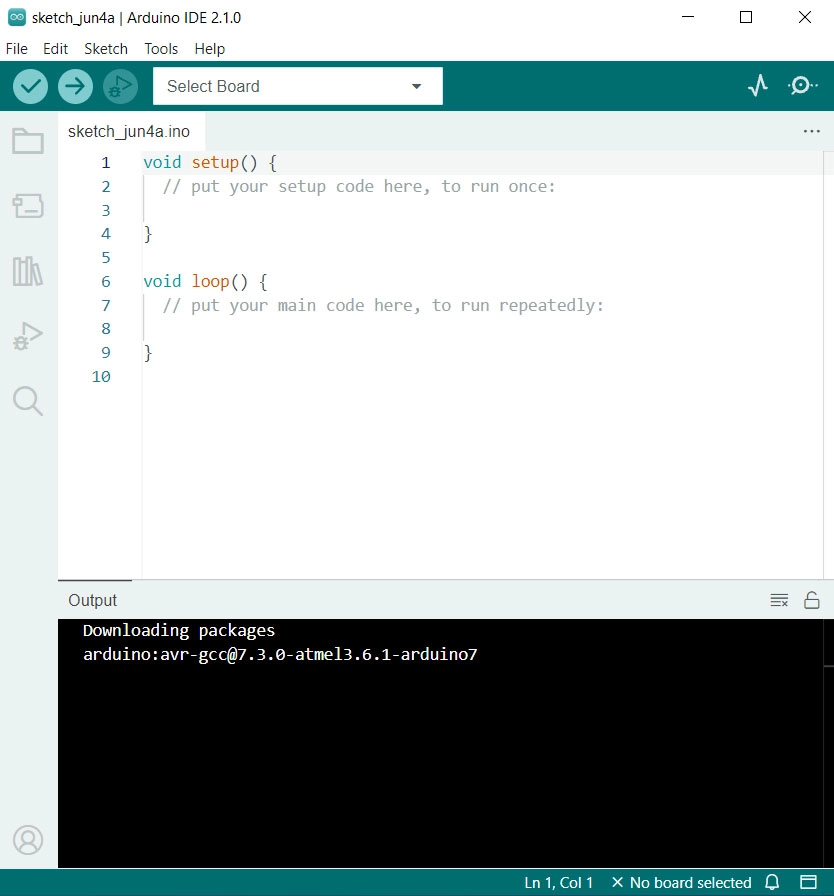
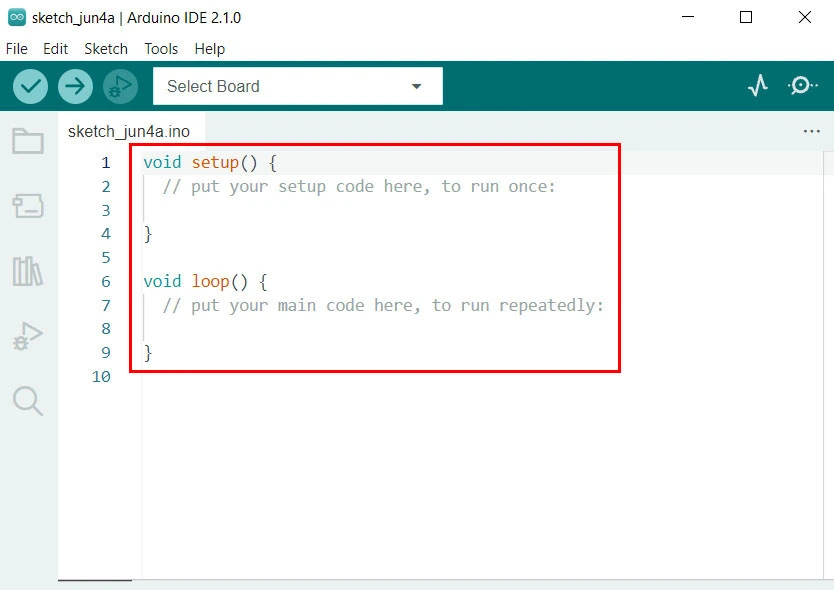
Go to your desktop, find Arduino shortcut and double click on it. You'll see the code editor when the IDE launches:
Arduino Driver Installation
When using the Arduino software for the first time, a common question is how to install the Arduino board driver. You don't need to worry about it. The installer will load all the required files to the system and will immediately install the drivers as soon as you connect the board to the computer. If you are using Chinese version of Arduino Uno or Nano Boards than you need to installed the "CH340" driver.
How to Program an Arduino?
The process of programming an Arduino is as easy as connecting hardware into one. To get start, you need an Arduino UNO board, a USB cable, and a computer. You'll be using the C++ based Arduino Programming Language.
Basics of an Arduino Program
Sketches are the name for Arduino program. Typically, they are written in two primary functions:
As you would certainly with any type of other program or script, any essential libraries as well as values are stated and also imported before both functions discussed above. Based on your needs, you're totally free to include more functions if you 'd like.
You can make use of the Serial Monitor to see the information that your Arduino is sending out over the serial USB link. The Serial Monitor is additionally utilized for interacting with the board using your computer or other qualified devices. It also consists of a Serial Plotter which can outline your serial information for better visual representation.
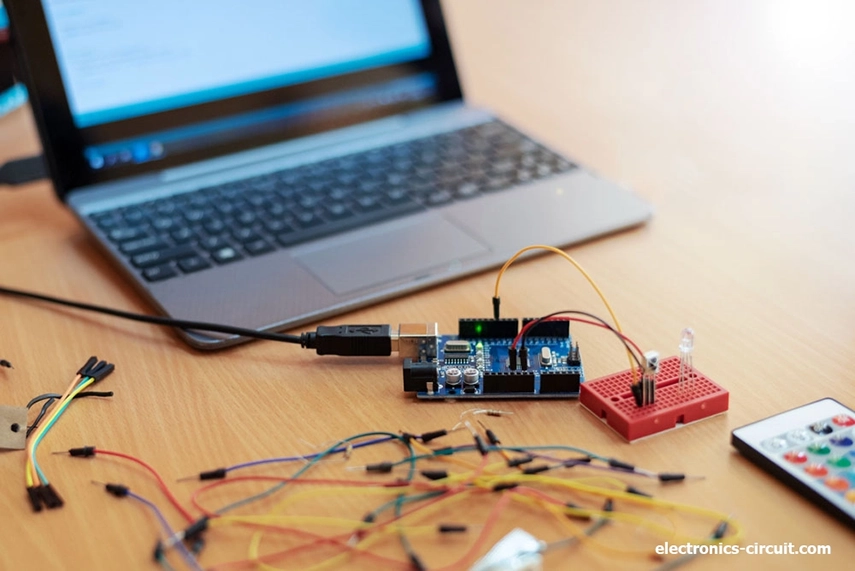
Connecting Arduino Board to the Computer
To connect the Arduino board to the computer, just attach the proper cable to the Arduino board as well as connect the other end to the USB port of your computer. The power LED will certainly glow showing the board is powered. The system will immediately install the driver for the board.
Arduino IDE – Basics
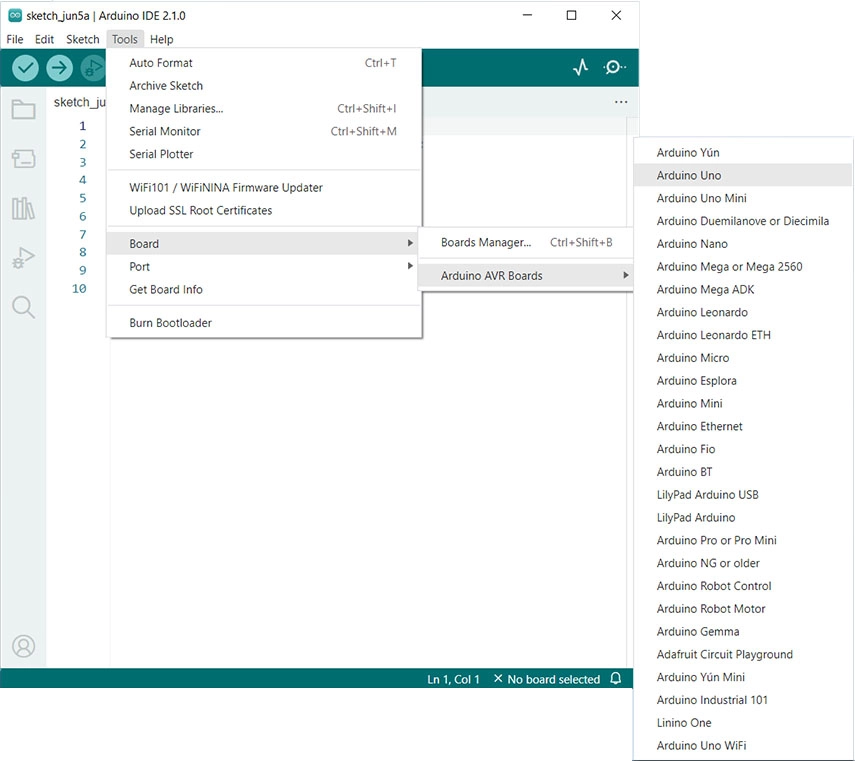
Selecting the right Board on Arduino
Now let's choose the proper board. It is very important to choose the proper board before compilation since the compiler will use this in the compile directives. To do that Click on the "Tools" -> "Board" -> "Arduino AVR Boards" and select your board from it.
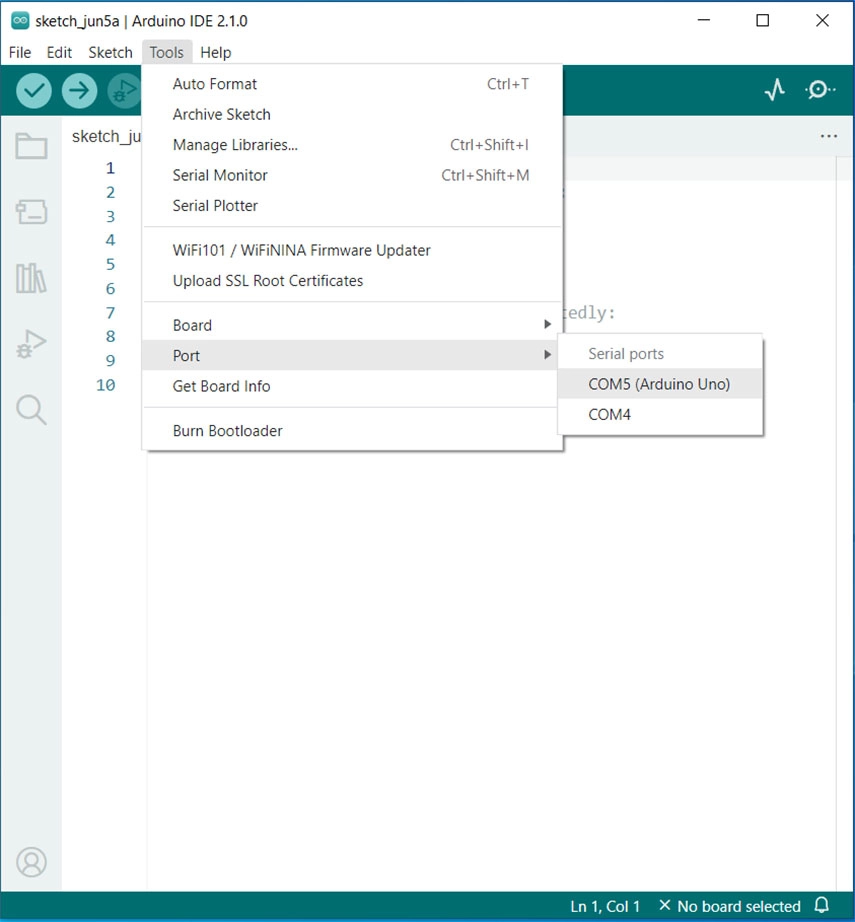
Select the Arduino Serial Port
It's also important to select the proper serial port to which the Arduino board is attached. Otherwise, you will not have the ability to upload the code to the board. To do that click on "Tools" -> "Port" And select the right COM port. If there are several COM ports and you are not exactly sure which one to choose, disconnect the Arduino board from the USB port and resume the menu. The COM port entry that disappeared will certainly be the right COM port. Reconnect the Board to the same USB port and choose that port.
Arduino Example Codes
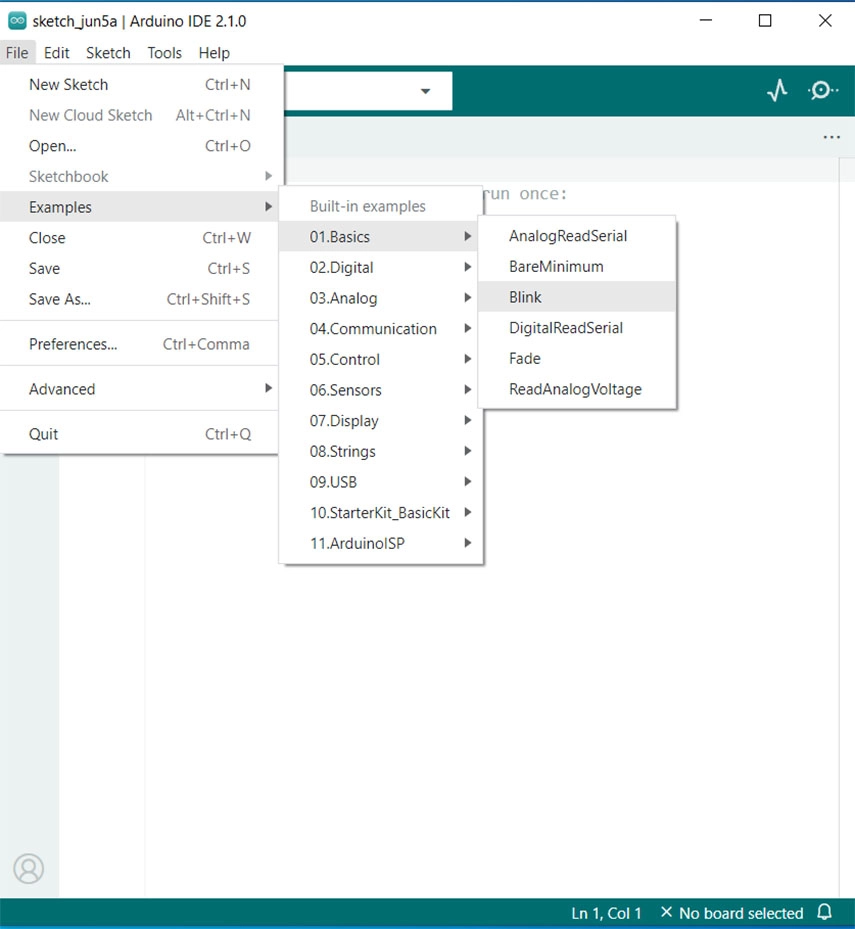
To start with we will be making use of the LED Blink example that is already provided with the Arduino IDE. To open the Blink example, go to Files -> Examples -> Basics -> Blink.
Example Blink Program for Arduino
Let’s open an example code to understand it further. For that click on File -> Examples -> Basics -> Blink.
A new home window with the example blink code will certainly be open. In the code area, you can see two functions, void setup() and void loop(). The void setup() function is the initial function that will certainly run when the Arduino is powered on. Usually we will add any initialization codes in this function. The void loop() will run in a loop, and also we will add any code that required to be repeated to this function.
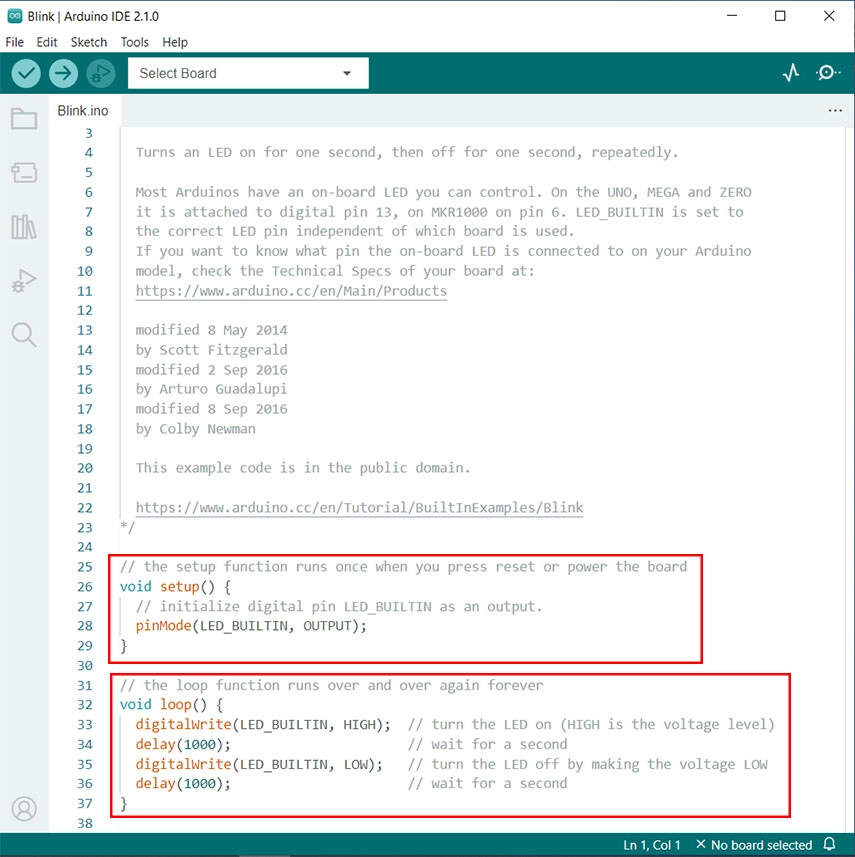
As mentioned earlier, in the void setup() function there is an initialization code.
pinMode(LED_BUILTIN, OUTPUT);
In this line with pinMode(), we set the pin which is attached to the built-in LED as an output. pinMode() is utilized to establish a specific pin as INPUT or OUTPUT. The phrase structure is pinMode (pin, mode). In which pin is the pin number, and the mode is INPUT or OUTPUT. In the example we are setting the integrated LED pin, i.e., is pin number 13, which is defined in the Arduino board definition file, to an output.
Void loop () {
digitalWrite (LED_BUILTIN, HIGH);   // turn the LED on (HIGH is the voltage level)
delay(1000);                       //wait for a second
digitalWrite(LED_BUILTIN, LOW);   //turn the LED off by making the voltage Low
delay(1000);                     // wait for a second
}
Looking at the Loop method, we can see that we are continually calling two functions, digitalWrite() and delay().
The digitalWrite() function is used to change the state of a certain pin, i.e. we change the pin's state to high or low. The syntax is digitalWrite(pin, value) in which the pin is the matching pin number and the value is the state or value we want to set to the pin, i.e., HIGH or LOW.
The delay() function is a blocking function to pause or stop a program from doing a job during the specified period in milliseconds. For example delay( 1000) will pause the program for 1000millisecods.
In the blink example, after the pin is set as an output, we set the pin as HIGH and wait for 1000ms. After the 1000ms, we change the pin state to LOW and once again wait for 1000ms or 1 second. After the 1Second pause, the program will certainly change the pin state back to HIGH and this loop will repeat continually. As a result, we will get a square wave out from that pin. When we attach an LED to this pin, the LED will certainly blink. The rate of blinking can be changed by changing the delay, by changing the values in the delay() function.
Uploading Code on Arduino
To upload the code first we confirm the Arduino is plugged in and the correct board and port are selected, after that click the upload button in the quick action bar or click on Sketch -> Upload. Or you can also you the keyboard shortcut Ctrl+U.
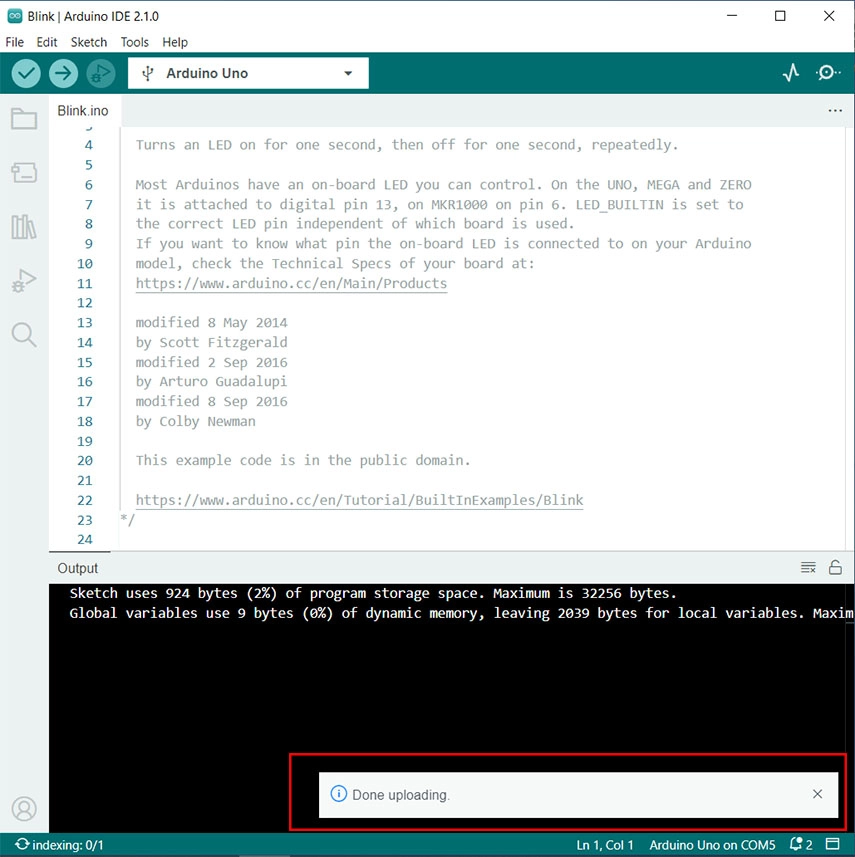
If everything went well, the status bar will show a Done uploading message and the LED will begin to blink.


